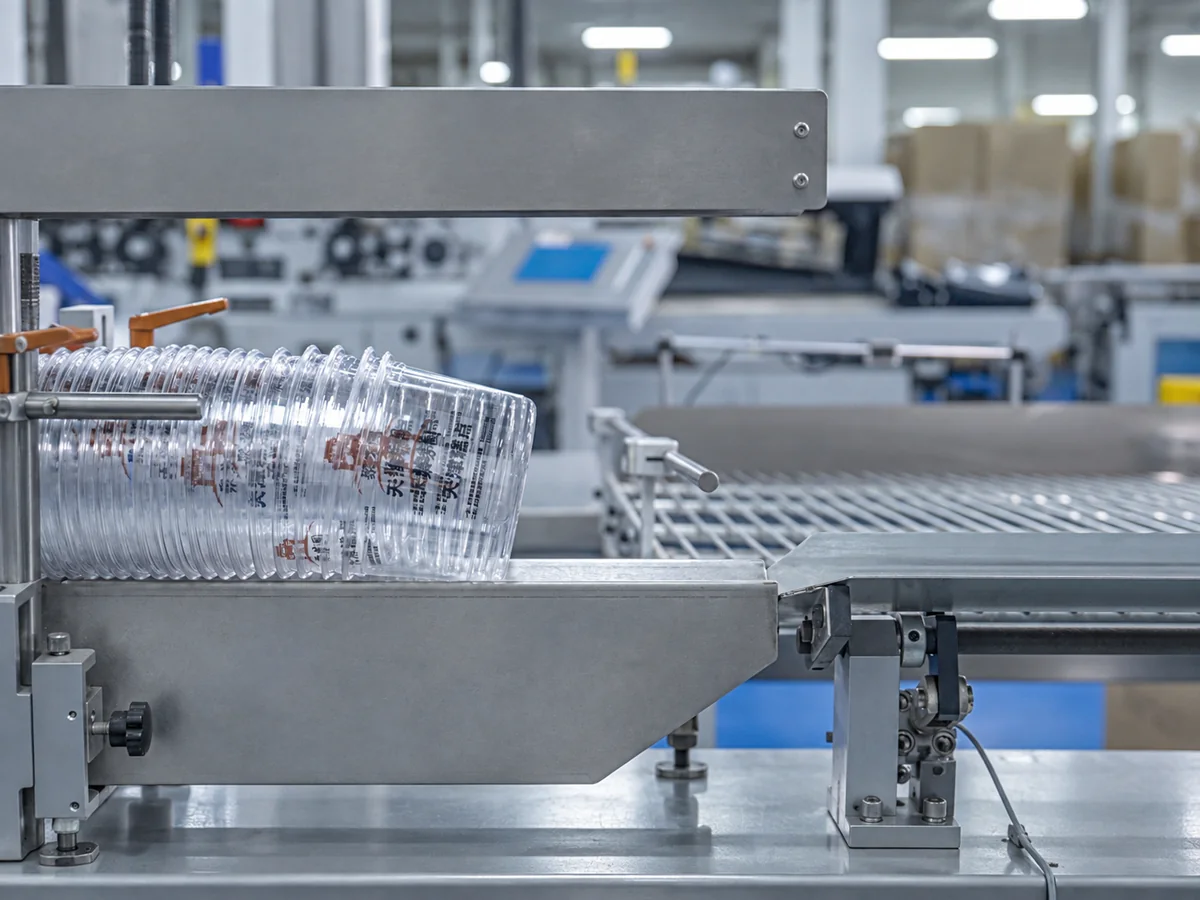
If you want to print a logo, brand name, or other graphics on PET food containers, it is better not to start with the artwork immediately. The final printing result depends not only on the design itself, but also on the container shape, container weight, printing area, artwork quality, and sample confirmation. At StlPak, we normally recommend confirming these points in sequence so buyers can reduce unnecessary revisions later.
1. Confirm the Container First: Shape and Weight Should Be Fixed
First confirm which container will be used for printing. The dimensions, application, PET or rPET material, container structure, and individual container weight should all be confirmed in advance. If you are using an existing mold, it is better to check an actual sample first, because the rigidity, structure, and surface condition of the container can all affect the final printing result.
Do not look at thickness alone. During PET sheet extrusion and thermoforming, the thickness is not completely uniform across every part of the finished container. For this reason, container weight is usually a more practical reference for overall material usage. Even when two containers are made from the same mold, different weights may result in different rigidity, hand feel, and resistance to deformation. Confirming the container specification before printing gives both the sample and mass production a clear standard to follow.
2. Confirm the Printing Area Before Finalizing the Design
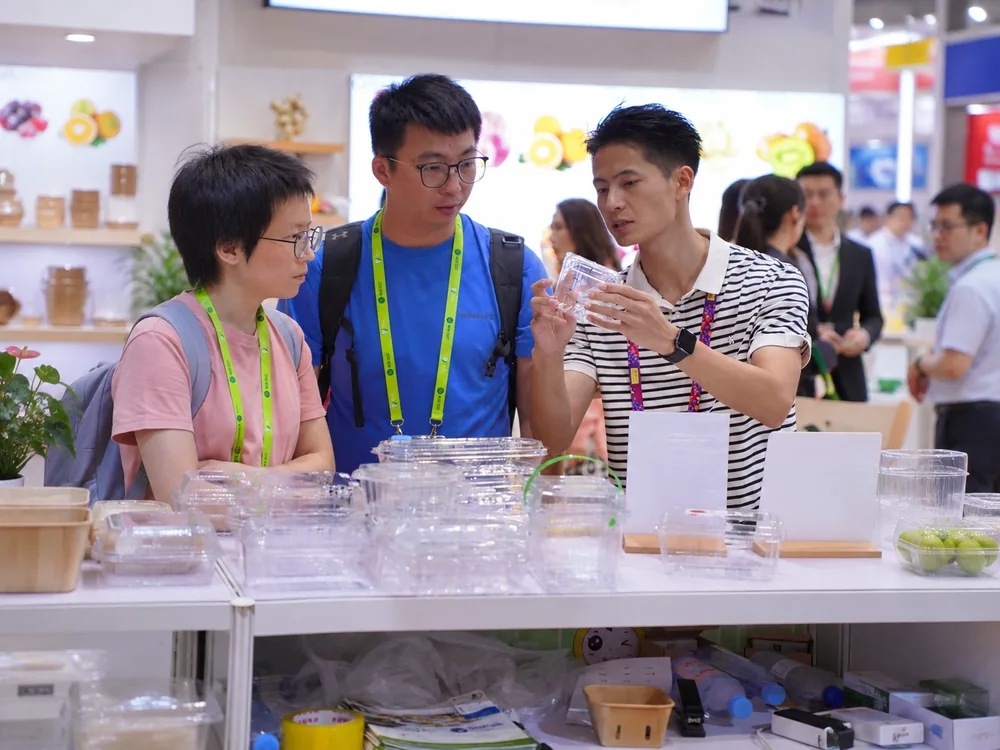
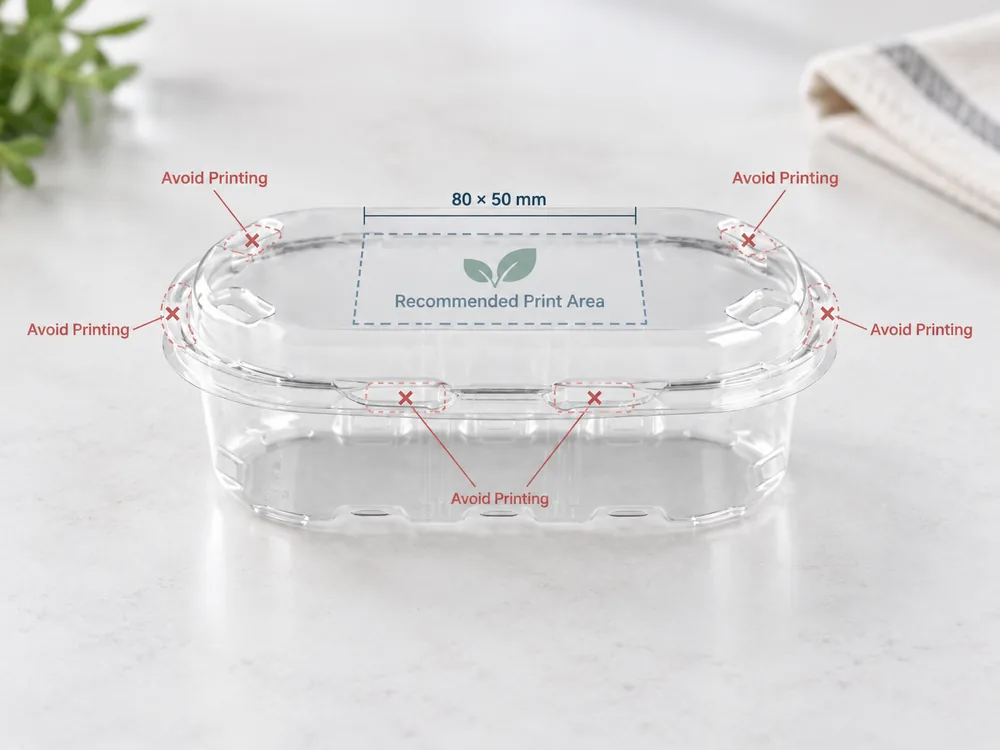
Not every area of a PET food container is suitable for printing. Flat areas on the lid are usually easier to print consistently, while ribs, locking areas, curved surfaces, folded edges, and ventilation holes can make printing more difficult.
Before preparing the final artwork, the actual printable area should be confirmed first. A lid may appear to have plenty of space, but the area suitable for stable printing may only be the flat section in the center. The logo position, size, orientation, and number of colors should also be confirmed at this stage. This allows the artwork to be created according to the actual production area instead of being redesigned later because of structural limitations.
3. Provide and Review the Printing Artwork
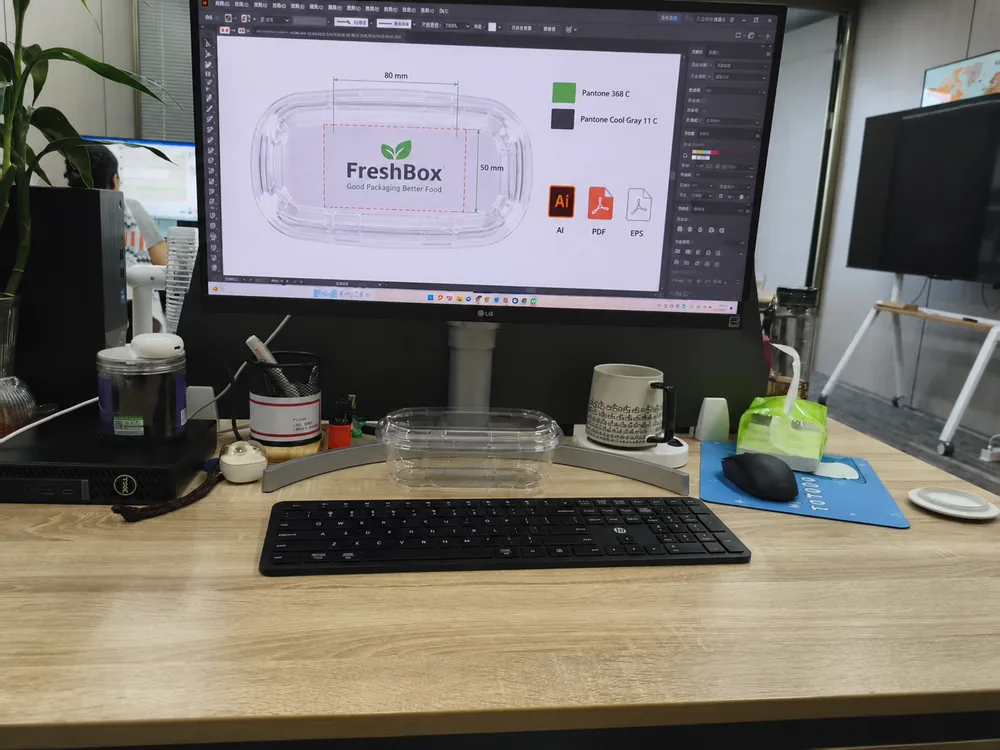
For formal production, AI, EPS, or editable PDF files are preferred. JPG, PNG, or screenshots can be used as visual references, but they may become blurry or lose line clarity when enlarged for production.
After StlPak receives the artwork, we also check whether the fonts, lines, colors, and position are suitable for actual printing. For example, small text may look clear on a computer screen but become difficult to read after printing on transparent PET. Very thin lines may also be difficult to reproduce consistently. If your brand has a specific color requirement, it is better to provide a Pantone color reference instead of simply describing the color as “dark green” or “blue,” since colors can appear differently on different screens and devices.
4. Review the Mockup, Then Confirm the Physical Sample
After the artwork is approved, review the visual mockup first, and then decide whether a physical printed sample is needed. The mockup is mainly used to confirm the logo size, position, orientation, and overall proportion, so many visual issues can be corrected before sampling.
However, a digital mockup cannot completely replace a physical sample. PET is a transparent material, and the actual appearance of printed colors on a transparent surface may differ from what you see on a computer screen. For formal projects, especially those involving larger repeat orders, it is better to check a physical sample and confirm the color, clarity, print position, adhesion, and overall appearance. Once the sample is approved, it can be used as the reference for mass production.
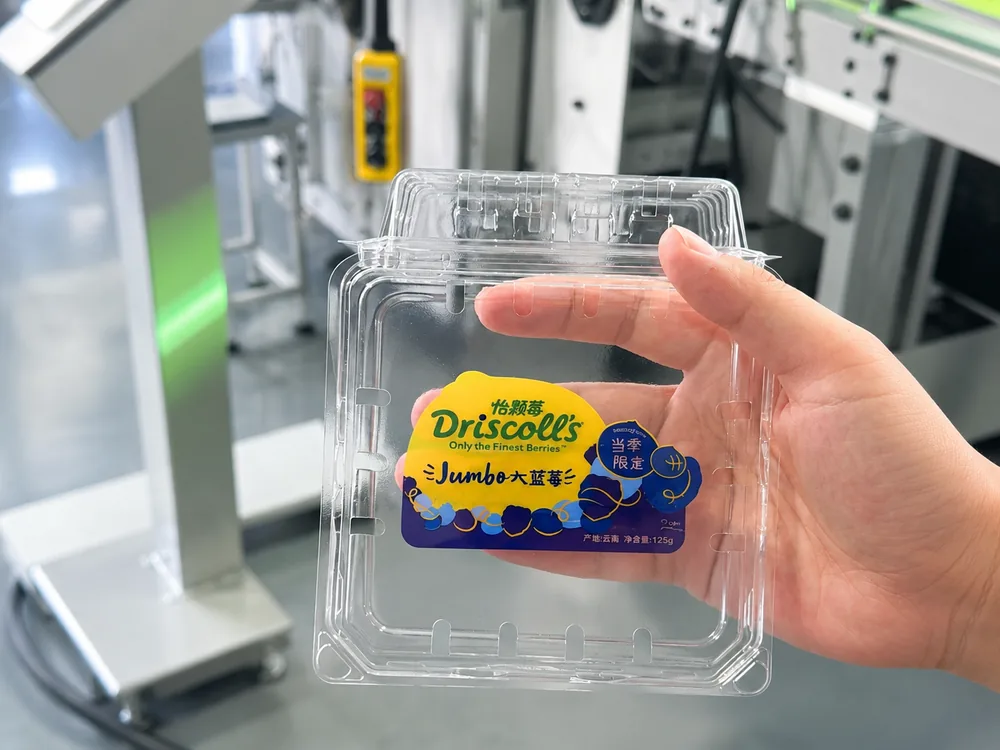
5. Start Mass Production After Sample Approval
Mass production should follow the final approved container specification, weight, artwork, and color standard. During production, it is important to check not only the printing result but also whether the container itself remains consistent with the approved sample.
This includes checking whether the print position has shifted, whether the color remains stable, and whether there are any missing prints, blurred areas, scratches, or other visible defects. The container itself should also be checked for deformation, and the weight should remain consistent with the confirmed specification. After the printed containers pass inspection, they can be packed and prepared for shipment. For repeat orders, keeping the final approved sample as a reference can help maintain better consistency between production batches.